Wednesday November 16, 2022 at 11:00am
In this blog I want to introduce you to a little used feature of PDM. Labels are a simple way to annotate a specific version of a model to describe a key point in its lifecycle outside of the standard ‘Revision’ label.
In this example, I have a problem with the fit of a part and after changing the CAD file I plan to have a 3D print created so that I can test the changes before releasing for manufacture. I will use a label to indicate the version of the model that I have sent for printing, but also use the content of the label to record who I sent it to.
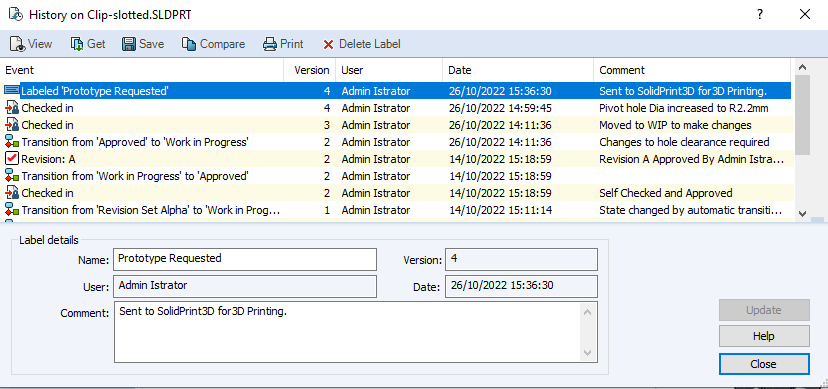
Figure 1: File History
On the face of it, labels may appear to be essentially the
same as a version comment, but unlike a version comment, a label can be added
without creating a new file version, they appear significantly in the ‘Get’
menu and versions attached to a label are also excluded from cold storage when cold storage rules have been configured to also exclude ‘Revisions’.
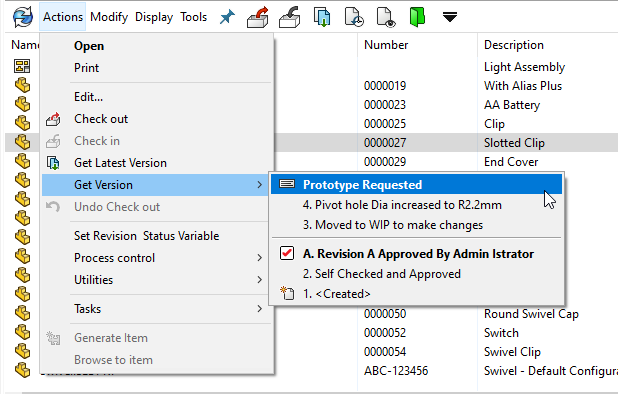
Figure 2: Get Version(with Labelled Version)
To add a label, browse the SOLIDWORKS PDM Vault View, select
one or more files before selecting Label from the Modify
pull-down menu.
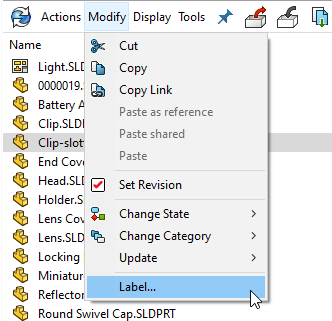
Figure 3: Menu: Modify / Label
Note: If you do not see this option, it may be that you do
not currently have the required permission to create labels. Two permissions
relate to labels, one to create (set) labels and one to delete
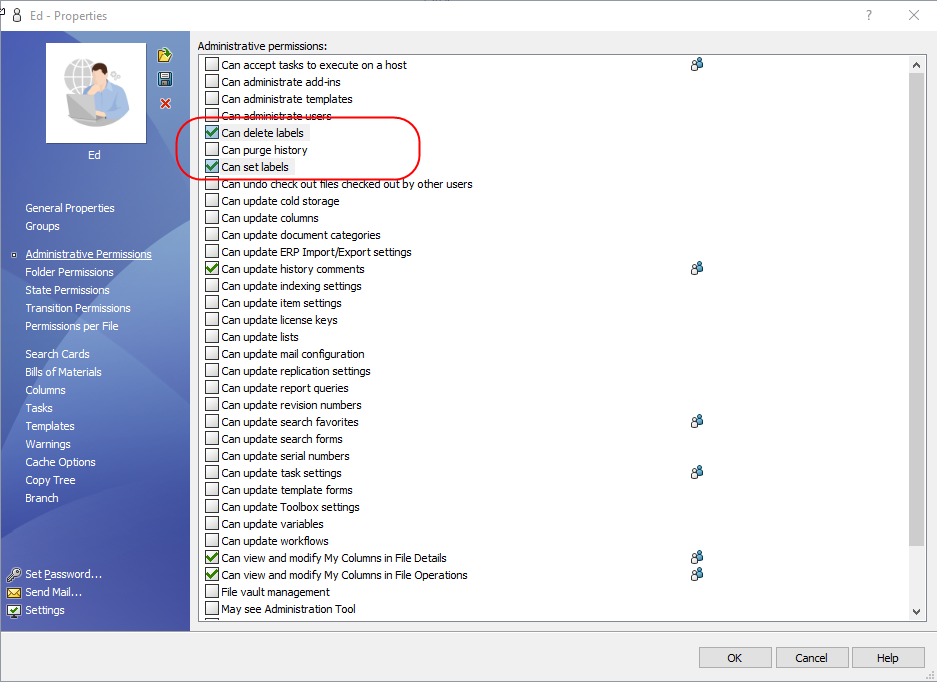
Figure 4: Administrative Permissions
This will display a dialog box that allows you to define the
name for the label as you would see in the Get menu, and an optional comment
for displaying within the full history dialogue.
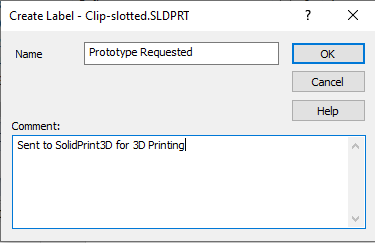
Figure 5: Creating the Label
Note: If you select a folder instead of a file
then the label will be applied to all files in that folder. You can also apply
it to the contents of any sub-folders by enabling the additional checkbox
labelled ‘Recursive’ which is only shown when a folder is selected.
Labels can be modified or deleted within the History dialogue
box by any user with the “Can Update History Comments” permission enabled.
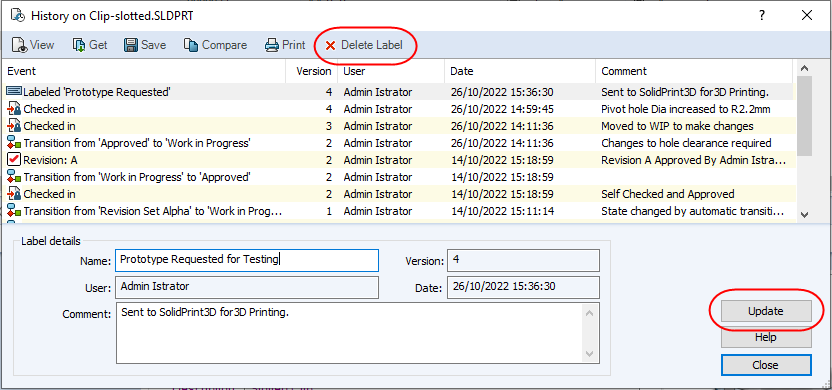
Figure 6: Update or Delete a Label
Labels can also be searched for using the Label tab on the built-in
‘Complete Search’ card. In the example below, I can search for Solid Print3D to quickly see
which files I have sent out to that company for prototyping as a 3D Print.
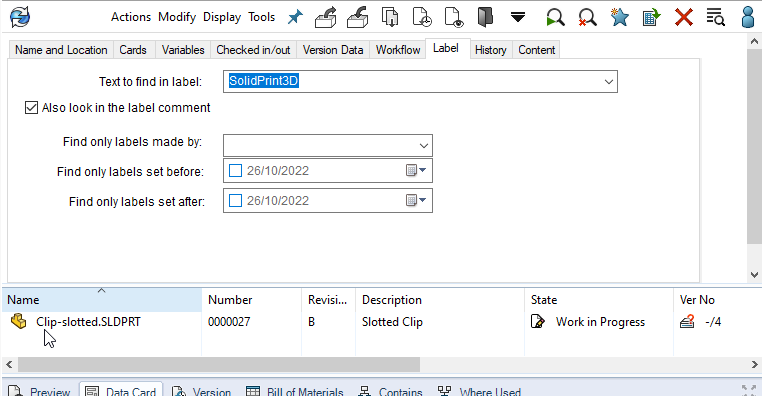
Figure 7: Searching by Label name or content